Agricultural well drilling is a precise, multi-step process that provides farms with a consistent water supply for irrigation, animals, and daily operations. Understanding how it works can help you make more educated decisions and preserve long-term water efficiency.
Here is a step-by-step guide regarding agricultural well drilling.
- The process starts with site selection and planning. To determine the best source of groundwater, our team will assess the site, collect soil data, and, in some cases, test drill. The best drilling site is determined by a variety of factors, including water table depth, geological forms, and accessibility.
- The next step is permitting and preparation. Depending on local regulations, permissions may be necessary before drilling may begin. The site is then cleared and readied to ensure safe access for drilling equipment.
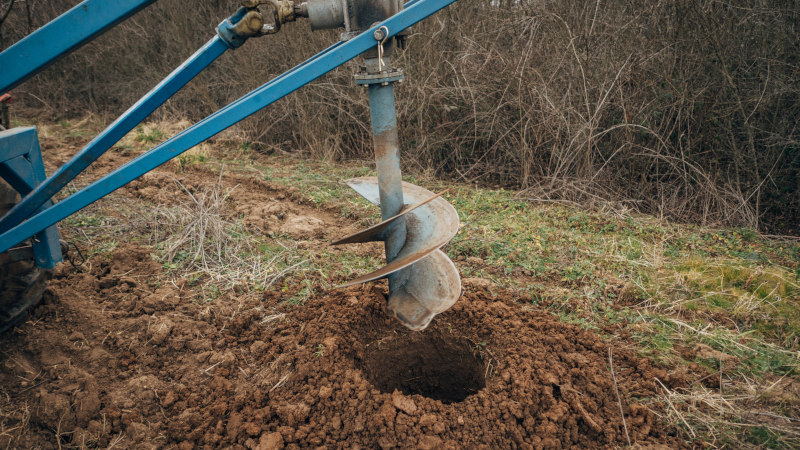
- The next phase involves drilling the well. We use specialized rigs to dig far into the ground to reach the aquifer. We’ll use either rotary drilling or cable tool drilling, depending on soil and rock conditions.
- Once the desired depth has been reached, the casing installation begins. A durable pipe, called casing, is inserted into the hole to prevent collapse and protect the water from contamination. Gravel or sealing materials are frequently used to reinforce the casing.
- After casing, the well undergoes development and testing. This includes removing debris and pumping water to guarantee adequate flow and purity. Water tests are also performed to detect impurities and determine appropriateness for agricultural use.
- Finally, pump installation and system configuration complete the process. A pump is erected to bring water to the surface, and the system is linked to irrigation or storage facilities.
With proper construction and care, professional agricultural well drilling can result in consistent water for decades, making it an excellent investment for any farm in our area.